Wednesday, December 4, 2013

Let It Snow


Hello! Did you wonder where I was this morning? I have been having a dickin's of a time with my computer lately. Sunday, a week ago, my service provider went down. As if that wasn't irritating enough, when it did come back up, NOTHING worked the same -- not my email nor my browsers. Now, I don't do change well. I NEED my life to flow in a nice, easy, predictable manner, so needless to say, the inability to open URLs, receive email or do any of the other functions on which I depend has been more than slightly disconcerting for me. I have two different browsers on my machine (although Chrome is my preferred one and the one I use most). However, neither of them would take me to URLs, open files or let me upload as I needed.  Well, enough moaning about that. Let's get on with the task at hand.

Today's Inky Impressions challenge is SNOW! We'd like to see the most frosty, chilly, snowy card you can make (smile). OK, it doesn't have to be "that" frosty, but we would like you to emphasize the snow aspect in some way. As always, you do not have to use an Inky Impressions stamp or digital image, but if you do, we will reward you with an extra entry in the drawing. Your prize will be four wonderful Inky imagines of your choice.

I have used our rubber stamp (SSB10-SSS06) called Sophia's Sweet Snowman. I stamped the image off onto X-Press It brand card using Momento black ink. I then colored it with Copic markers. I found the green piece of paper in my stash and thought it made for a different and interesting snow card. Usually we think of blue or white or even red at times for snow flake papers, so I really liked the green for a change.

My card base is a white 5.5 x 5.5" square with the snowflake piece on top. I didn't have any snowflake dies large enough to use as my background, and I didn't have time to pull out my Cricuit cutting machine, so I found two Spellbinder dies that resembled snowflakes (Floral Doily Motifs and Ironworks Motifs) to use. The white one is the floral doily, and the green one is the ironworks motif. I cut my image into a square shape and matted it with green and then again with white. I added a few rhinestone gems (Inky Impressions) to the center of some of the snowflakes and to the ends of the green snowflake. I added my ribbon and bow and then used a cute mittens charm (Inky Impressions) hanging from the bow.

I do apologize for the photo (another thing I'm having problems with recently). Please take a few minutes to stop by the Inky Impressions blog and have a look at the cards the other DT members have made this week using more of our cute, cute Inky images.

I'm off now to (hopefully) have a productive day. This time of year always seems to have more on the "to do" list and less time to get them done (or is it just me - smile).

Tuesday, December 3, 2013

Tuesday Sketch #227

Good morning friends. I hope your week has started off well. Today is a special day! In addition to providing you with a new sketch with which to work, it is also my wedding anniversary!


Oops, sorry, you aren't here for a walk down memory lane. You're here to see this week's sketch, so here it is:


Isn't that a great one? This week our sponsor is the wonderful Stamp Fairy. Gerda ceates such wonderful, adorable images. You will also want to take a few minutes and visit the TMS blog to see the fantastic line-up of cards by our DT members. 

Have a wonderful day. I'll see you back here again tomorrow.

Friday, November 29, 2013

Card Crafter's Circle - Tags


This week our challenge for you is:

 #103 Gift Tags


We are happy to welcome  ... 


Our sponsor this week, Melonheadz, and the prize is a lovely gift certificate to the Melonheadz online store.

The images Melonheadz provided the DT were a whole sheet of adorable tags ready to be colored up. My first idea was to take the tags and "doctor them up" by adding bits and bobs of decorative elements. However, once I started coloring them, I changed my mind. They are just too cute as is and really didn't need anything else (except perhaps a bit of ribbon or twine at the end for attaching -- 'twas my intent to pull out some of my baker's twine to add, but my ADD brain totally got side-tracked!

Anyhoo, I did think this would be a wonderful way to get the youngsters involved. These images (and the others I didn't get colored) are perfect for having the kids color -- their contribution to the Christmas gift wrapping. I colored my images with my Copic markers, but the kids could use crayons, regular markers or colored pencils if you prefer.

My teamies at CCC have chosen some of the other images (and also remembered their ribbon/twine), so you will want to take a minute to hop over there and have a look. I guarantee you'll find a smile on your face with the visit!

We would so enjoy seeing your tag/tags this week. They can be fancy or simple, elegant or funky -- just have fun and then share them! A reminder though...to be eligible for prizes and badges, your entry must follow our rules.  And please post the DIRECT link to your actual challenge entry, not just your blog. 

Sami's Stamps - New Release


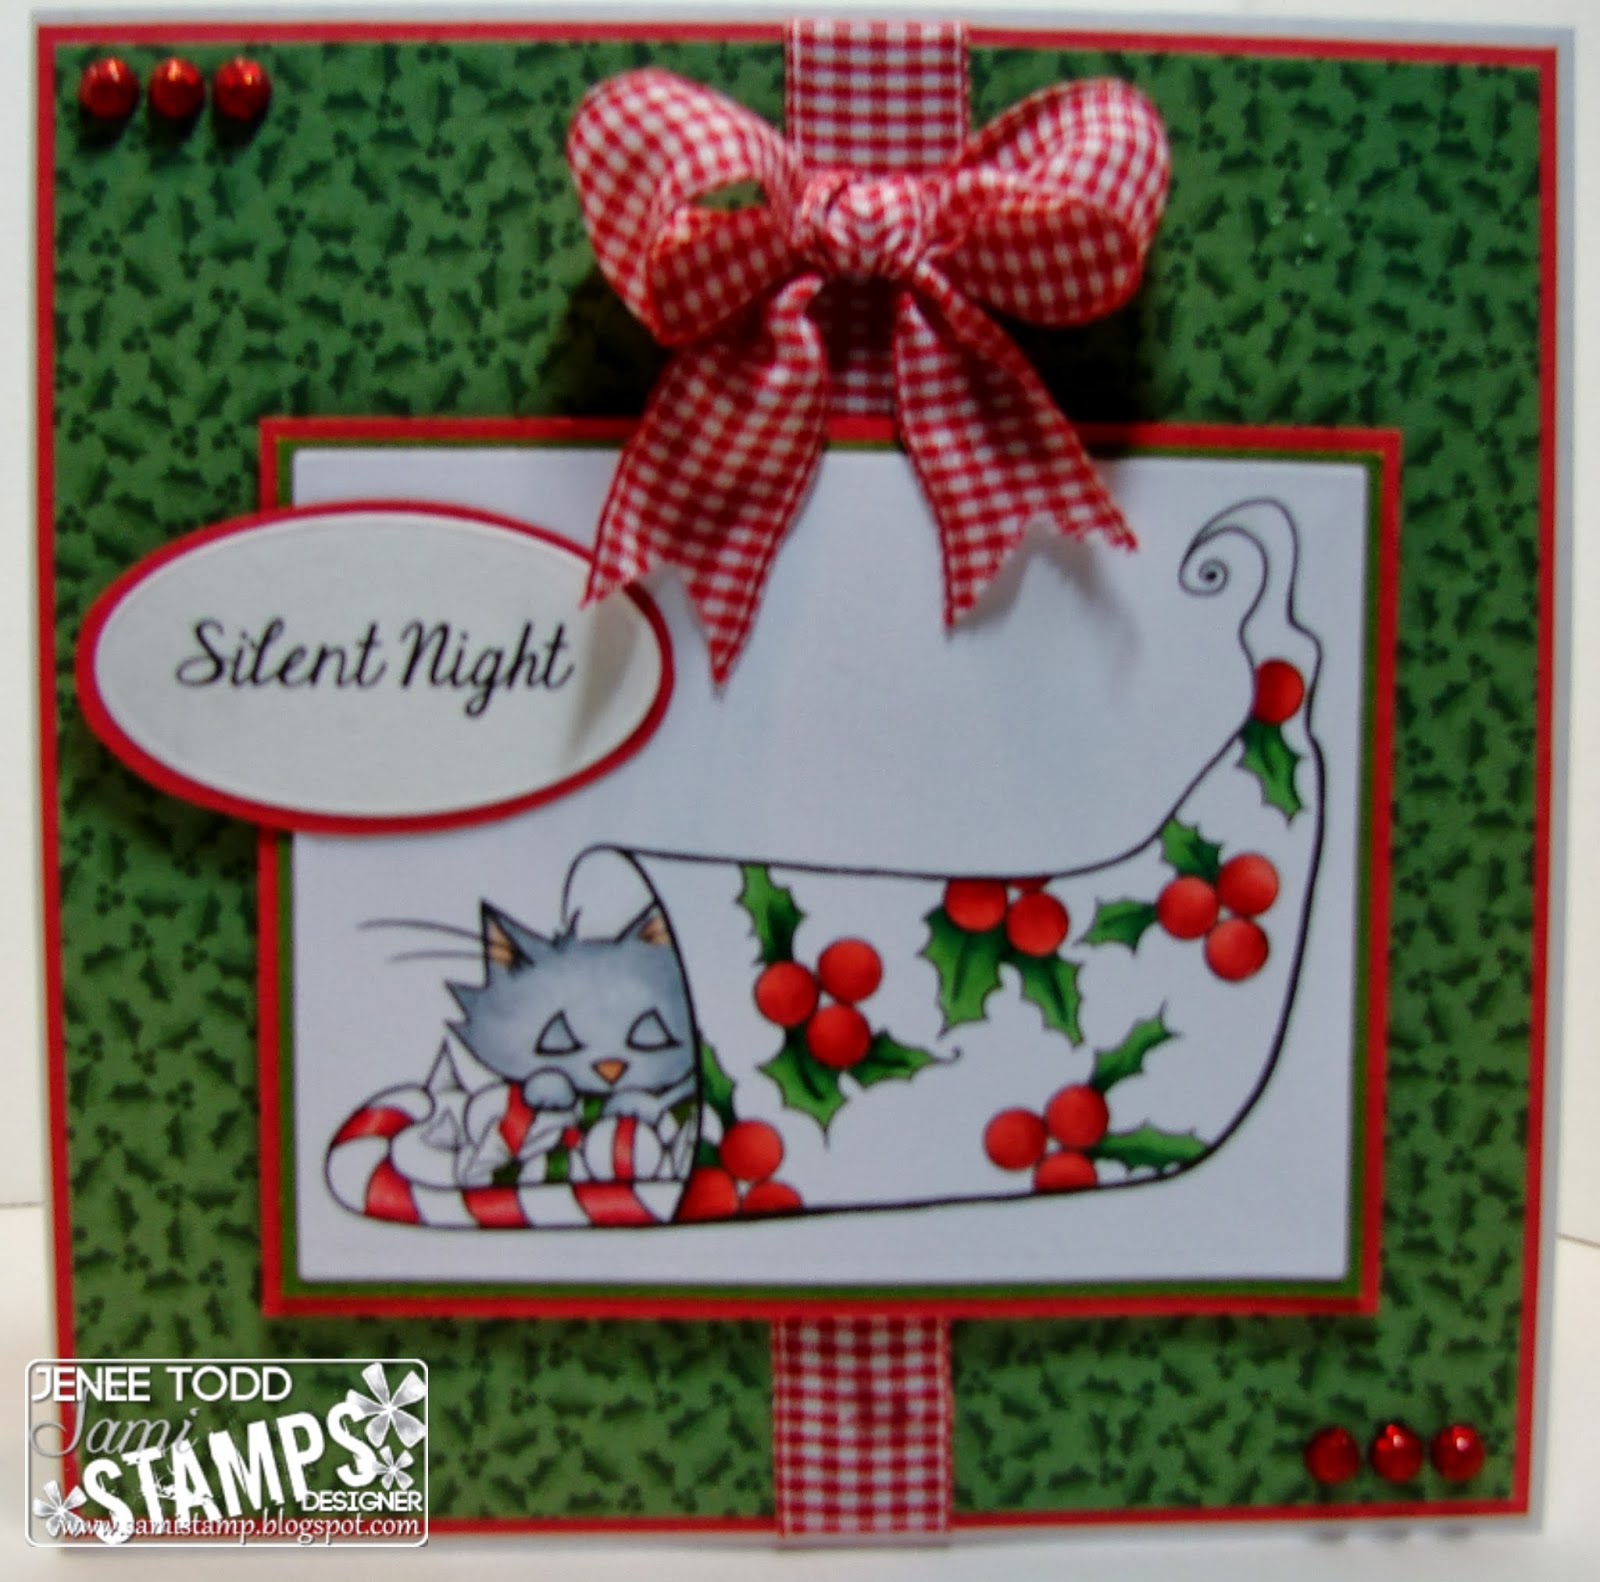
Despite the holidays, Sami's Stamps has been quite busy designing new images. This latest set is totally adorable (especially if you are a kitty lover such as I). Here is a look at the entire set:


Are they just too cute or what? I have used Whiskers in My Stocking this week, but all the images are totally adorable and will find their way (eventually) onto one of my cards (smile). The top left image, Curious Presents, could be used all year long -- for any gift giving occasion such as a birthday or a baby/wedding shower. 

Anyway, on to my card. I have to admit that this time of year is quite busy at my house and crafting time dwindles. As a result, I turn to more CAS designs in my card making. However, Sami's designs are so fantastic that they don't need a lot of embellishments to make a lovely card. Look how beautifully the little kitty and the stocking colored up! In fact, I liked the way the red and green POPPED so much that I deliberately left a lot of white. (If you want to see this image with the stocking part colored in, do visit Sami's blog as several of the DT worked with this image -- and they are all so totally different!)

My card base is white. The DP is matted with red. The image is matted with green and red. A bit of red and white gingham ribbon, some sparkly red dots and a simple sentiment, and my card is ready to go into the mail. 

Stay warm, ya'll, and have a good weekend.

Wednesday, November 27, 2013

Did Someone Say Presents?


Have you started your Christmas shopping yet? I know, it isn't even Thanksgiving (here in the US), but the gift giving day is fast approaching. I have two very good friends who not only have their shopping done, but all of the gifts are already wrapped. My feeble mind seems to recall a time in my life when I was that organized (sigh). However, it seems the older the family gets (myself excluded because I refuse to age any), the harder it is to know what to put under the tree! Anyway, this week at Inky Impressions, we'd like you to focus on the presents! Show us your lovely creation either showing presents, something for wrapping presents, or even a present itself.

As always, you do not have to use an Inky Impressons image to be eligible to win our fab prize, but if you do us the honor then we will reward you with an additional chance -- yep, your name will be entered a second time.

I've used two of our wonder stamps this week to create my card. My main image is Delilah's Ducky Christmas (DSB10-DDC06), and my sentiment is 7S10-SSP05. I colored my main image with Copic markers and cut it into a square. I matted it with green and then white card. My card base is a white 5.5" square, and my DP is from Echo Park's Very Merry Christmas 6 x 6" pad. The green border was punched with a Martha Stewart punch, and I "wove" the red ribbon through the center. The sentiment was stamped using CTMH holiday red ink and cut with a Spellbinder die. The white corner is cut with a Joy Craft corner die. A little hard to see in my picture, but I added teeny tiny white pearls to the centers of the snowflakes on the background paper, as well as a larger pearl on the corner piece.

If you have a few minutes to spare, you should hop over to the Inky Impressions challenge blog and have a look at the beautiful cards the other DT members have made this week to inspire you.

Take care, and I'll see you back here on Friday!

Challenges:
Eureka Stamps - Santa is On His Way (3 entries only
Aud Sentiments Challenge -  #94 Any Sentiment 
Brown Sugar "Anything Goes"
CMC Challenge "Anything Goes"
Inkspirational "Anything Goes"
Bearly Mine "Anything Goes"

Fluttering By to Say Thanks


In honor of the Thanksgiving holiday observed here in the US, our theme for the last November challenge is "THANK YOU."  As usual, you must use a butterfly or fairy on your creation.

I know this may be a busy week for many of you. It is going to be jam packed at my house. It started yesterday when I had to drive 3 hours (1.5 hrs. each way) to meet for 30 minutes with a lawyer to finalize the sale of what had been my parent's house. Then today we start preparations for our family meal (sans my oldest and her crew). Thursday will be a packed house with two of my children, 3 of my grandchildren, 1 great grandchild (plus his Mommie), my hubby and I -- not to mention the three dogs and two cats -- ok, I said I wasn't going to mention them (smile), but they are our fur-babies; thus, part of the family. Thursday will be filled with good eats, family fun and lots of thanks! Friday we put away the Thanksgiving decorations and pull out the Christmas tree because the kids want to help decorate it (especially my son who will have to return to NC).

So, since you and I are both busy people right now, I'm going to cut out the chit-chat and get on to business! My card is fairly simple this week. I have started with a white card. I have cut a fish-tail banner from black paper and matted it with tan. I cut a white square (Spellbinder Fleur de Lis Squares die) from white card and added a small piece of DP (K&Company Ancestry pad) to the center. I stamped my butterfly using PSX (Personal Stamp Exchange) butterfly (D-512) with black Stazon ink and fussy cut it. I then adhered it to one side of the square. The sentiment stamp is by Stampin' Up (Wonderful Words).

I definitely would consider this a CAS card, but I was pleased with how it turned out. It really looks rather elegant in its simplicity, and was rather fun to make. I do hope you will be able to join us this week. I so enjoy seeing the beautiful cards all of you creative people share with us.

For all of you who celebrate the Thanksgiving holiday, may it be a happy and safe one. For those of you who have either already celebrated or don't celebrate this particular holiday, have a wonderful week.

Tuesday, November 26, 2013

Tuesday Sketch #226


It is another Tuesday morning, and we have a really great sketch for you this week. This one is super for those "QUICK" Christmas cards. It is fast and easy, but very stylish, too. So if you don't want total CAS but need a quck card, you are going to LUV this week's sketch. Here it is:


Our sponsor this week is the delightful Bugaboo. If you aren't familiar with Bugaboo Stamps, you definitely need to visit their online store. You will not be able to keep from smiling as you partake of their delightful, whimsical images. Bugaboo is offering seven -- yes, you read correctly -- seven images to our lucky winner.

I am using Bugaboo's Baby Christmas this week. I've colored the image with my Copic markers after printing it onto X-Press It brand card. The card, itself, is white, and the one piece of DP is by Crate Paper (Peppermint Collection). I matted the DP with green card and rounded the bottom edges with my corner rounder. The image was cut into an oval using Spellbinder oval die and then matted onto a scalloped green piece cut with the Spellbinder scalloped oval die. The red ribbon is from my stash and is tied in a knot instead of a bow, and I've added a pewter Christmas stocking charm at the knot.

I'm very much planning on using this sketch for some of my other Christmas cards. I can even save more time by substituting a pre-printed image, a hand-made poinsettia flower or holly leaves and berries -- all would be quite lovely in the oval.

So, before you grab your scissors and glue, head over to the Tuesday Morning blog and take a gander at what the other DT members have created for your inspiration.